Welcome, fellow poultry enthusiast! You’re about to start an amazing journey by hatching your first batch of chicks. This adventure of incubating eggs and raising baby chicks can seem daunting. But, fear not! With the right guidance and some patience, you’ll have a thriving coop in no time. This guide aims to introduce you to the chick hatching process. I’ll also share practical tips for hatching chicks that I’ve found useful.
It’s crucial to know the basics of caring for newborn chicks, setting up the right incubator, and understanding chick brooding essentials. We’ll explore these first steps in detail. We’ll talk about the importance of temperature control and the art of turning eggs. These steps are vital for successfully welcoming your fluffy chicks into the world. So, let’s dive in and learn how to raise our very own home-grown flock!
Key Takeaways
- Embarking on the chick hatching journey can be satisfying with the proper knowledge.
- Adequate preparation for the incubation process is key to successful chick hatching.
- Consistency in temperature and humidity is vital for the healthy development of chicken embryos.
- Detailed steps on incubator setup and egg handling will be covered for beginners.
- Learn the essentials of caring and brooding for your newly hatched chicks to ensure their well-being.
- Understanding the stages of development can help monitor the health and progress of your hatchlings.
Embarking on the Chick Hatching Adventure
Welcome to the exciting world of chick hatching! This 21-day journey lets you see life begin in an egg. My adventure in hatching chicks has been awe-inspiring. Every day brings new excitement and anticipation. It teaches us patience and rewards us with a growing flock. Let’s explore the 21-day hatching timeline together. You’ll see eggs transform into a flock of chickens, bringing immense joy.
Understanding the 21-Day Hatching Timeline
The 21-day hatching timeline outlines the egg’s embryonic development. Each day marks a crucial step towards welcoming new chicks. I’ve tracked growth milestones closely, feeling excited as I watched eggs turn into living creatures. With a clipboard, I noted each development stage. From tiny veins to the first movements and then chicks hatching, this timeline guides you through the magical process.
| Day | Milestone | Expectation |
|---|---|---|
| Day 1-5 | Embryo Begins Development | Cells differentiate, heart begins to beat. |
| Day 6-10 | Feathers and Beak Form | Noticeable development of feathers, beak, and feet. |
| Day 11-15 | Growth and Movement | Increased size and movement, preparation for hatching position. |
| Day 16-21 | Hatching Process | Egg tooth forms, chick positions for hatch, pipping and zipping, hatching! |
The Joy of Growing Your Backyard Flock
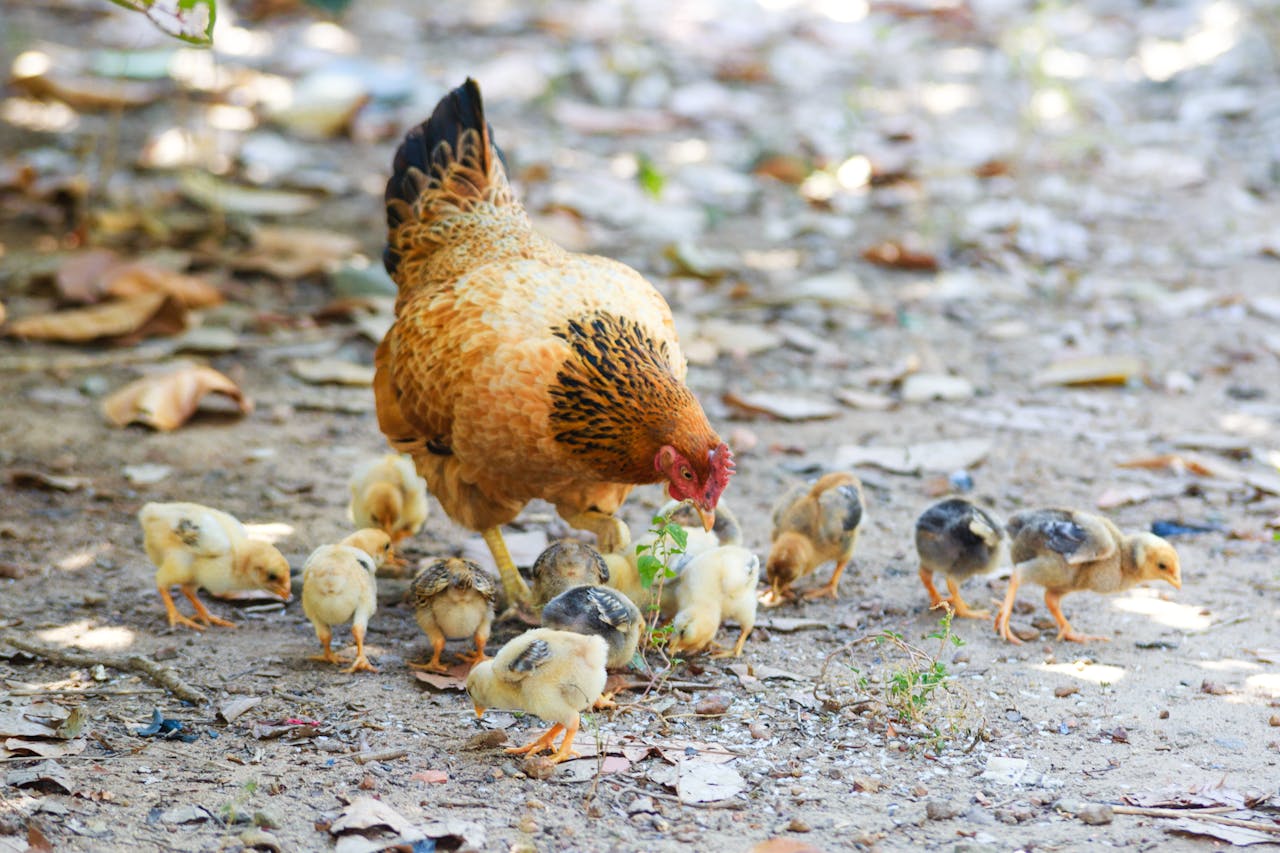
There’s a special delight in raising your backyard flock from scratch. What started as a hobby became my passion. Each hatching chick makes our lifestyle more sustainable by providing fresh eggs. They also bring pleasure as we care for them. Each bird has its personality, and my flock’s growth has brought me closer to nature. As chicks hatch, they fill your backyard and life with happiness.
Raising chickens is not just a chore; it’s an enriching experience that connects us with nature and the cycle of life.
Selecting Your Fertile Eggs
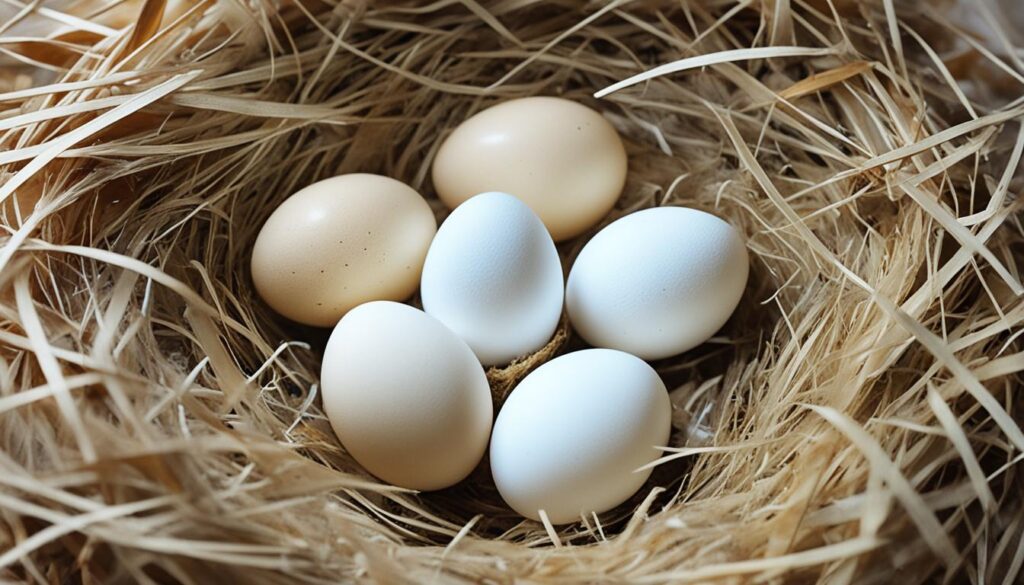
As a poultry enthusiast, choosing fertile eggs is my first major step. This decision is crucial for hatching success and the chicks’ health. I’ve found the choice between getting eggs from hatcheries vs local farms and checking for NPIP certification really matters for egg quality and health.
Acquiring Fertile Eggs: Hatcheries vs. Local Farms
Getting eggs from hatcheries differs from local farms. Hatcheries offer a wide variety and are often NPIP certified, meeting specific health standards. But, local farms allow me to personally check the eggs and where they’re from.
| Source | Variety | Egg Quality | Health Standards |
|---|---|---|---|
| Hatcheries | Broad | Standardized | NPIP Certified |
| Local Farms | More Personalized | Can Vary | Dependent on Farmer |
In choosing fertile eggs, I look for genetic variety. It’s often found at local farms with their range of rare or heritage breeds.
NPIP Certification: Ensuring Egg Quality and Health
The National Poultry Improvement Plan (NPIP) certification plays a big role in egg health. It assures me the eggs come from flocks tested for diseases and meet health standards. It’s all about choosing selective fertile eggs for the health of my future flock.
- Evaluate the cleanliness of the egg’s shell
- Check for any cracks or irregularities
- Consider the reputation and reviews of the hatchery or farm
In searching for the best eggs, I prefer NPIP certified farms. This choice helps my hatching success.
Setting Up Your Incubator
Welcome to the world of incubation! We’re entering the setting up your incubator phase. It might seem filled with tricky steps, but don’t worry. We’ll go through it together. Every effort you put in now helps ensure a successful hatch. Imagine hearing the first chirps as your reward for all the attention you’ve given.
Choosing the Right Incubator: Features to Consider
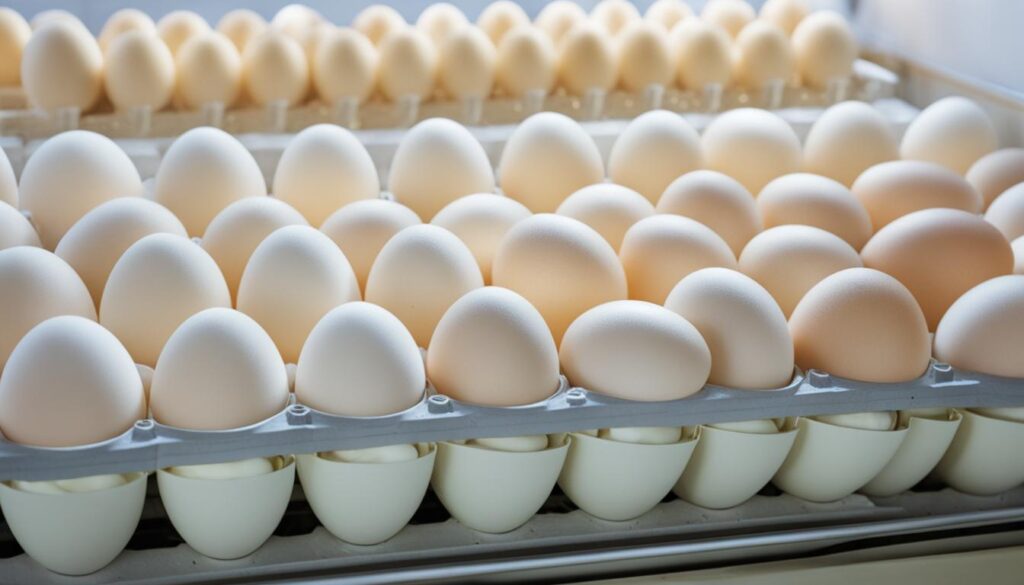
Choosing the right incubator is key. Think about what you need. Will you have a small group of eggs or a big brood? Incubators vary in size and features. They fit both beginners and experts. Look for ones with automatic egg turning. It’s a great help for saving time. Also, getting one with good temperature and humidity control is important. It makes sure the eggs have the perfect environment.
Preparing the Incubator: Cleaning and Temperature Settings
Before adding your eggs, cleaning and setting the temperature is crucial. Cleanliness is key for a healthy hatch. Make sure to disinfect the incubator and let it air out. After cleaning, getting the temperature just right is vital. Aim for a steady 99.5°F (37.5°C) for chicken eggs. Keep an eye on any temperature changes closely.
| Incubator Feature | Why it Matters | My Recommendation |
|---|---|---|
| Size/Capacity | Dictates how many eggs you can incubate at once | Choose based on the scale of your hatching project |
| Automatic Egg Turning | Provides consistent movement necessary for development | Opt for it to prevent manual errors and to save time |
| Temperature Control | Essential for maintaining the right incubation climate | A digital control system for accuracy |
| Humidity Gauge | Keeps moisture levels optimal for embryo health | Select an incubator with a built-in hygrometer |
| Visibility | Allows you to check on the eggs without opening the incubator | Clear, see-through lid or door for easy monitoring |
By getting your incubator set up right, you’re preparing for success. Whether you’re new or perfecting your skills, remember. Every great hatch starts with turning on a well-prepared incubator.
Climate Control: Temperature and Humidity Mastery
In my journey of incubating eggs, mastering climate control became key. This was crucial for a good hatch. It’s about finding a balance. Creating perfect incubation conditions is vital.
I sought the perfect temperature and humidity. I learned that 99.5°F (37.5°C) and 60-65% humidity are ideal for most of the time. But, in the last three days, or “lockdown period,” humidity must jump to 70-75%.
I made a detailed table for these optimal climate conditions. Strictly following these guidelines is crucial for a strong hatch rate.
| Incubation Period | Temperature | Humidity Level | Notes |
|---|---|---|---|
| Days 1-18 | 99.5°F (37.5°C) | 60-65% | Regular egg turning is critical. |
| Days 19-21 (Lockdown) | 99.5°F (37.5°C) | 70-75% | No turning; prepare for hatching. |
Setting and forgetting doesn’t work here. Being watchful is crucial. Power outages or sudden weather changes can mess things up. That’s why checking climate control systems often is a must.
Learning through trial and error taught me a lot. Not all incubators work the same. High-quality equipment is a sound investment.
Proper management of these aspects is essential for the chicks’ development. This careful balance leads to a successful hatch. It’s rewarding to witness the start of new life, peep by peep.
Hatching Your First Batch of Chicks
Welcome to the magical journey of hatching chicks. Going through this process is exciting. I’ll share tips on starting setting the eggs right. Learn to monitor progress with candling. Also, do development checks to keep your future chicks healthy.
Setting the Eggs: Orientation and Incubation Kickoff
Firstly, placing the eggs correctly in your incubator is key. Put the eggs so the bigger end is up. This is due to the air sac inside. It helps the chick breathe before it hatches. The incubation kickoff starts when your eggs are at the perfect temperature and humidity.
Monitoring Progress: Candling and Development Checks
Checking on your eggs regularly is crucial. Candling is a great way to do this. This old technique lets you see inside the egg without opening it. Shine a strong light at the base of the egg. You can see the chick grow and check it’s okay. Start these development checks around day 7. Then, keep doing them at important times.
| Day of Incubation | Expected Development | Visible Changes Through Candling |
|---|---|---|
| Day 7 | Embryo takes shape, primary veins visible | Spidery veins spread, dark spot for embryo |
| Day 14 | Increase in chick size, egg turning critical | Greater chick movement, reduction in clear space |
| Day 18 | Preparation for hatching, chick absorbs yolk | Air sac enlarged, chick occupies most of egg |
Remember, being patient and paying close attention are very important. By following these tips, you’re on your way to having a coop full of chicks. In just 21 days, you can achieve this dream. Follow these steps closely. Soon, you’ll enjoy the sounds of new life.
The Importance of Turning Eggs During Incubation
When you start to incubate chicken eggs, know that turning eggs is key. It’s not just another step; it’s crucial for the eggs’ success. Regularly turning the eggs isn’t busywork. Instead, it’s vital for the embryos’ development inside these eggs.
Now, let’s look at when and how to turn the eggs for the best results.
How and When to Turn Your Eggs
Turning eggs is like what a hen does naturally. It keeps the embryo from sticking to the shell. It’s crucial for me to turn the eggs to warm them evenly. This warmth is necessary for the embryo to develop properly. But when should you turn the eggs? It is suggested to turn the eggs three to five times a day. You should stop turning them 72 hours before they are due to hatch. This is because the chicks are getting ready to hatch then.
Automatic vs. Manual Egg Turning
Choosing between automatic vs manual egg turning depends on their benefits. With an automatic turner, you get consistent turns. It keeps you from having to touch the eggs too much. This lowers the chance of the eggs getting dirty. It also keeps the incubator stable. Manual turning, though, requires more time. It lets me check the eggs each time I turn them.
Either way, the main point is to turn the eggs well and often. Doing this sets the stage for the eggs to hatch successfully.
Observing Development: Candling Insights
Candling eggs is a fascinating process. It fills me with excitement each day. I learn about embryo growth and check the health and progress of each egg. By shining a bright light into the egg, I can see development signs like blood vessels and the embryo.
Timing is crucial in candling. On day 7 of incubation, my first candling reveals which eggs are growing well. By day 14, growth differences are clear. A larger embryo is visible. By day 18, a bigger air cell shows that hatch day is close.
This technique needs a careful touch. It’s important not to cool the eggs too much or handle them roughly. I candling quickly and gently. This way, I learn a lot and quickly address any problems.
Remember, candling is not just about confirming growth – it’s an opportunity to connect with the life you are nurturing and to make informed decisions for their well-being.
This close look can reveal any issues. It helps me decide which eggs have the best chance to hatch healthy chicks.
Here’s a simple candling schedule that works for me:
| Day of Incubation | Observation Goals | Expected Development |
|---|---|---|
| Day 7 | First viability check | Visible veins and heartbeats |
| Day 14 | Growth assessment | Expanded size of embryo, less evident yolk |
| Day 18 | Pre-lockdown check | Increased air cell size, chick movement |
Candling offers a unique view into the start of life. It also shows how important careful observation is for successful hatching. Watching these eggs develop is a constant reminder of life’s miracle and our responsibility in hatching eggs.
Countdown to Hatching: Preparing for New Chicks
The excitement grows as we get closer to hatching time. Preparing for new chicks means making a safe, growth-friendly place for them. It’s all about a smooth start.
Assisting the Hatchlings: Do’s and Don’ts
Helping hatchlings needs careful timing. Too early or too much help can hurt them. Here, learn the right balance for a good start:
- Do maintain the right humidity and temperature in the incubator as chicks begin to hatch.
- Don’t hurry to help a chick out of its shell; they need this time for their health.
- Do make sure the brooder is warm and draft-free for the chicks after hatching.
- Don’t overlook a chick struggling to hatch for over 24 hours.
Making sure the incubation conditions are right usually means chicks hatch on their own.
What to Do When Chicks Don’t Hatch as Expected
Sometimes chicks don’t hatch as we hope. Here are steps for those times:
- Check the incubation settings like temperature and humidity are right first.
- If a chick is partly out but stuck, misting the shell with warm water helps, but don’t remove the shell yourself.
- If many chicks aren’t hatching, get advice from breeders or a vet as there might be a bigger issue.
Be very careful and gentle in these steps to not stress or hurt the hatchlings.
| Issue | Possible Causes | Solutions |
|---|---|---|
| Weak Chicks | Genetics, poor incubation conditions | Review and adjust incubation setup |
| Malpositioned Eggs | Improper egg turning during incubation | Ensure accurate turning schedule |
| Unhatched Eggs | Infertility, dead embryos | Candle eggs to check for development, improve source of eggs |
| Shrink-wrapped Chicks | Low humidity during lockdown | Maintain proper humidity levels |
Being attentive as we count down to hatching matters a lot. Keep these pointers in mind for preparing for new chicks and helping them start off well. It will be a rewarding experience.
Post-Hatching Care and Brooding Essentials
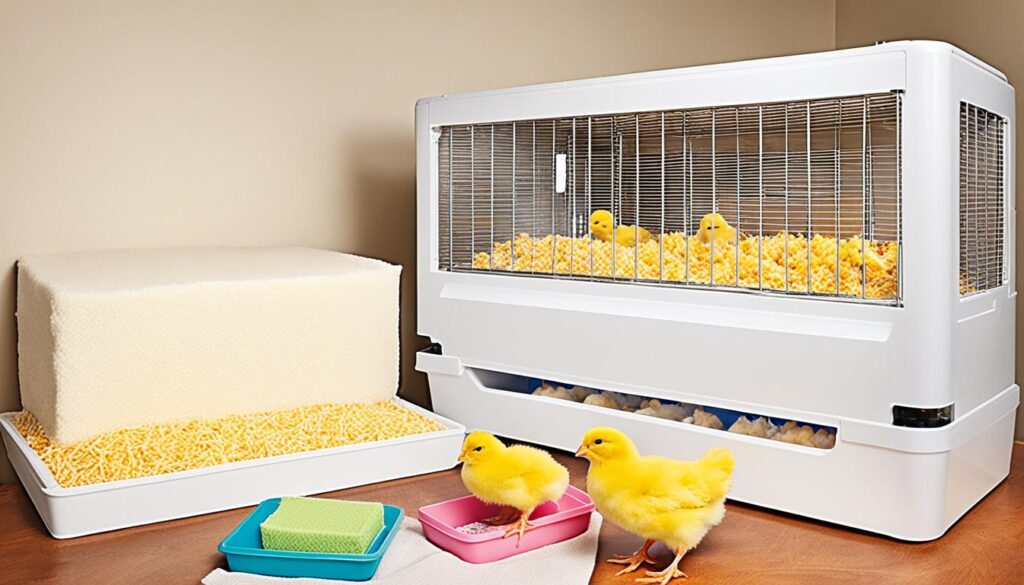
As a seasoned chicken keeper, I’ve learned that hatching is just the start. Post-hatching care is key for these young lives to adapt well. With the right brooding essentials, you can make a safe space for growth.
Keeping chicks warm is your first task. They need a heat source like what a mother hen provides. You must check and change the temperature as they grow. Think of yourself as their guardian, keeping them cozy until they can handle the cold better.

Feeding your chicks right is crucial. They start with a high-protein feed for early growth. Their diet should change as they grow. Make sure fresh water is always there, in safe containers.
Brooding essentials also mean using pine shavings for bedding. They absorb well and keep smells down. Keeping the brooder clean stops diseases. Change bedding often and look out for wet or moldy spots. Cleanliness is crucial for your chicks’ health.
Getting your chicks used to people is very important. I handle mine often to get them comfortable with humans. This makes for calmer birds. Slowly getting them used to the outside helps them join the flock easily.
- Consistent temperature monitoring for optimal warmth
- Balanced, nutrient-dense feed appropriate for age
- Unlimited access to clean, shallow water
- Bedding that maintains cleanliness and comfort
- Frequent socialization and gradual outdoor exposure
By focusing on these brooding essentials, I’ve seen many chicks grow up strong. Good post-hatching care means healthy chickens for your backyard flock.
Raising Baby Chicks: Post-Hatch Nutrition and Housing
Welcome to an important time—the start of your flock’s life. Raising baby chicks right is key for a healthy future. They need the best food and a safe place to live early on. Here, we’ll show you how to help your chicks grow into strong members of your backyard family.
Chick Starter Feed: When and What to Feed Your Newborn Chicks
After chicks hatch, they need special food called chick starter feed. This food has vitamins and minerals to help them grow strong and stay healthy. You should give this feed to them within 24 hours of hatching. Keep it available for the first six to eight weeks. After that, you can switch to grower feed.
Setting Up a Brooder: Heat Source and Bedding Best Practices
Creating a good brooder setup is crucial for your chicks. They can’t keep themselves warm at first, so they need a reliable heat source. You can use a heating lamp or a radiant heat plate. Keep the brooder at 95°F in the first week. Then, lower the temperature by 5°F every week.
Also, use the right bedding like pine shavings to keep them warm and clean. Avoid slippery floors to keep their legs healthy. And, change the bedding often to make sure their home stays dry and clean.
Common Challenges and Troubleshooting
Starting to hatch chicks comes with its challenges. Like others, I’ve faced common challenges. To overcome these, one needs patience and the ability to make quick fixes.
My first try at incubating eggs showed me the need for quick problem-solving. Issues like wrong temperature or humidity can affect egg development.
- By regularly checking my incubator’s thermostat, I managed temperature well.
- Keeping the humidity right also helped, which I did with a good hygrometer.
Sometimes, the trouble is with the eggs themselves. Problems in their development could be due to bad genetics or lack of nutrients from the hen’s diet. Changing the feed can help.
Every mistake teaches us something; write down what happens and talk to experts to improve.
Not all chicks will hatch, even with hard work. Seeing this as a chance to learn, not a failure, is key. By looking closely at each step, I found ways to get better results.
Being careful and well-informed in facing these common challenges made me better at hatching. Now, I can raise healthy chicks with joy.
Tips for Hatching Chicks: Best Practices for Beginners
Starting your journey with hatching chicks is exciting and rewarding. To succeed, follow these best practices for newcomers. Always be vigilant and pay attention to details to ensure a healthy flock.
Keeping Detailed Records for Future Success
Keeping detailed records is a crucial success factor. It helps to improve your hatching techniques. Record the breed, setting date, turn times, and any temperature or humidity changes. Knowing which conditions were most successful is key.
Track these important details:
- Date and time of incubation start
- Temperature checks and adjustments
- Humidity levels at various stages
- Egg turning schedule
- Candling observations and dates
- Notes on any abnormalities or issues
Such records let you create a hatching protocol that works best for you. It turns general tips into a custom process for your conditions.
Sanitation Procedures: Keeping Your Incubation Station Safe
Sanitation is crucial to avoid infection and disease. Clean and disinfect your incubator before setting eggs. Choose a cleaning solution recommended by the maker for best results. Follow these steps to keep your incubation station safe:
| Procedure | Description | Frequency |
|---|---|---|
| Incubator Cleaning | Remove debris and disinfect with an approved cleaner. | Before and after each hatching cycle |
| Accessory Sanitization | Wash and disinfect all trays, containers, and tools. | After each use |
| Environment Disinfection | Clean surfaces and equipment in the incubation room. | Weekly |
| Hand Hygiene | Wash hands before and after handling eggs and incubator components. | As needed |
Being strict with these sanitation rules will result in healthier chicks. It also sets a stable foundation for your hatching efforts.

Conclusion
Hatching chicks turns out to be more than just hard work—it is indeed a fulfilling journey that starts your new backyard flock. Choosing the right eggs and looking after them till they hatch shows true commitment. Hatching chicken eggs usually takes 20 to 21 days, and due to constant care, about 80% of them will successfully hatch.
In places like China and Bali, people use old yet effective ways to incubate duck eggs, like using dry rice or rice husks. These methods can result in as many as 80% of duck eggs hatching. The success of these ancient techniques, as highlighted in incubation guidelines, motivates me to blend such wisdom into my process. This can lead to better hatch rates and a healthier flock.
Whether you’ve got years of experience or are just starting, these thoughts remind us of the birds’ natural ability to do well in the right conditions. For instance, guinea fowls lay eggs in the rainy season, and timing chick hatches with weather changes can help them adapt better. Remember, with consistent effort and care, the challenging task of hatching chicks can turn into a rewarding part of your garden life. The sound of newly hatched chicks is a true celebration of aligning with nature’s cycles and your caregiving.


